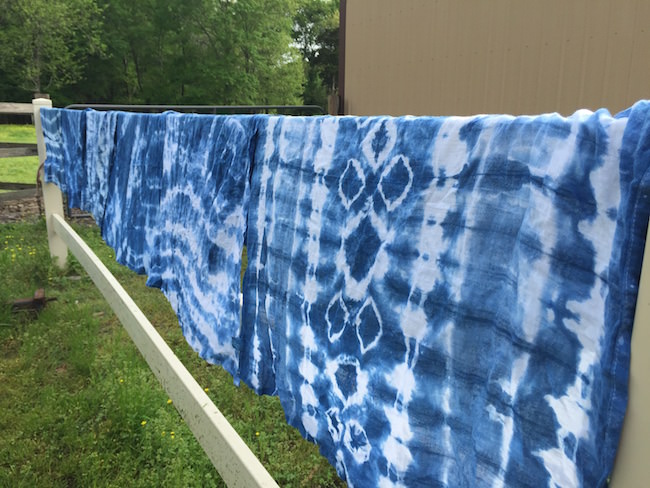
Julie, author of Eggs and Herbs, guest blogs today informing us how our new Tie-Dye Bands can be used in the classroom. Julie offers a step-by-step guide on how to use these bands to yield the best results.
Tie-dyeing t-shirts is something I have fond memories of from my childhood. I recall making t-shirts at summer camp, in Girl Scouts and probably even at home once or twice. So I was shocked when I asked my art class, full of mostly upper-class high school students, if they had even done tie-dye and not a single one raised their hand. I was now on a mission to change that.
I had long been interested in the process of indigo dye and this was the perfect opportunity to learn a little bit more. Indigo is a natural dye that was originally used to color blue jeans. While most jeans are now dyed with a synthetic dye, I purchased a natural indigo dye for our class to use. The dye comes from a plant and is processed so that it becomes water-soluble and can be used for dyeing fabrics. Historically, indigo was a very valuable trade commodity for many sub-tropical climates, and evidence of indigo dye has been found in Egyptian tombs dating back nearly 5,000 years.
The history of indigo is very rich, leading to some great discussion in the classroom. It also didn’t hurt that our school colors are blue and white, which certainly generated some interest in the project.
Tie-dyeing in a classroom can certainly present some challenges but is doable. I cut open large trash bags and taped them to the floor to prevent the floor from being damaged by drips of dye. I also covered a countertop with a large trash bag and sheets of cardboard to provide a place for students to place their wet work while we waited for the dye to set. I have access to water in my classroom, which is a must, as students will need to wash their hands and will eventually rinse their fabric.
Supplies Needed
- Alliance Rubber Tie-Dye Rubber Bands
- Natural indigo dye
- Fabric for dyeing (We used flour sack towels and cotton t-shirts.)
- Large trash bags
- 5-gallon bucket
- Long spoon or paint-stirring stick
- Rubber gloves
- Access to a sink
Day 1 – History and Tying
We spent the first class period looking at the history of indigo dye, researching some ways to bind the fabric and then tying up the fabrics. (See resources below)
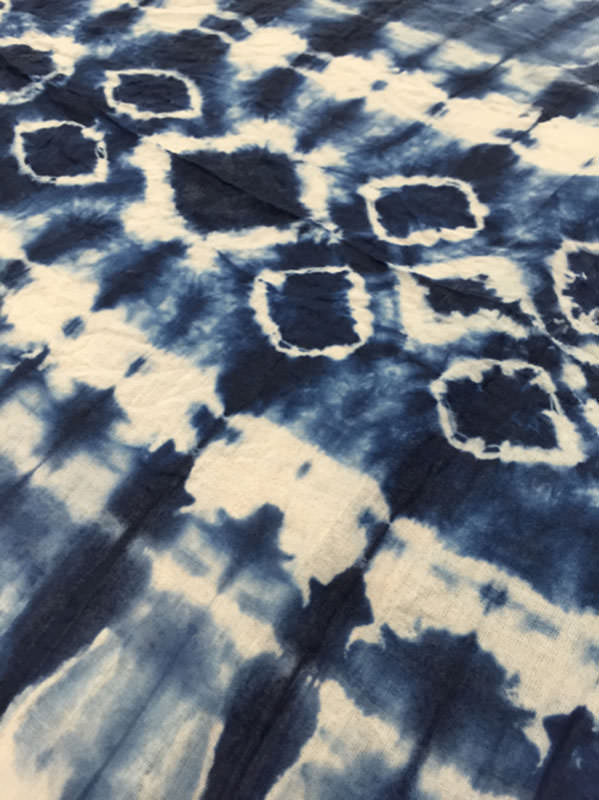
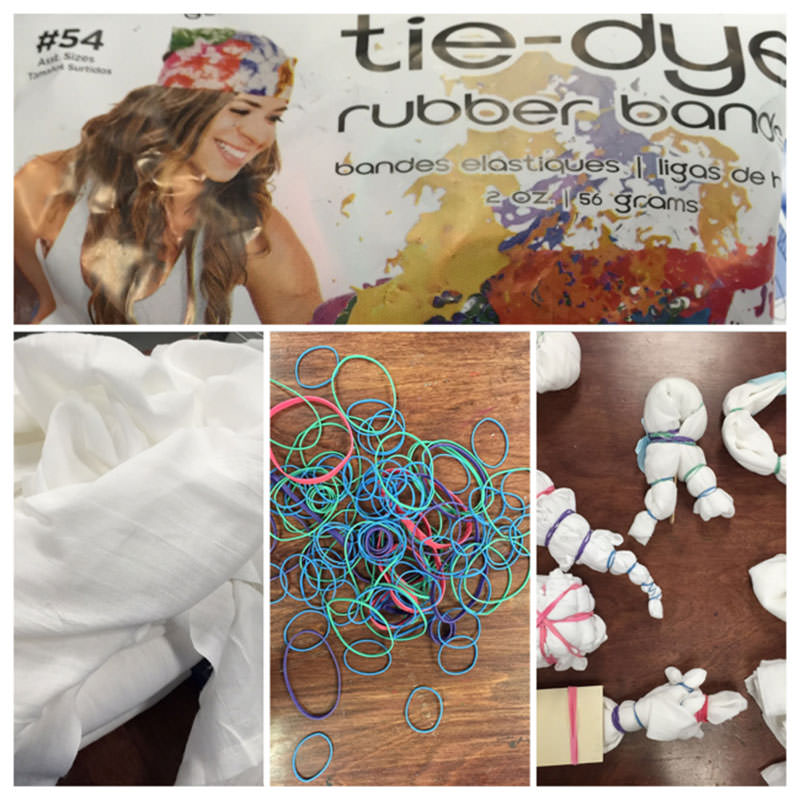
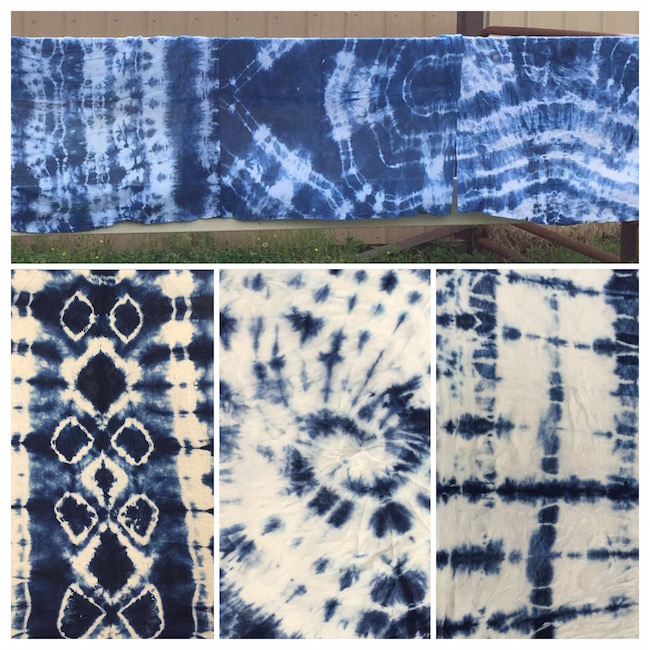
Folding, twisting and tying the fabric creates areas where the dye cannot penetrate the fabric. This will create areas that remain white. The way you fold and tie will create an infinite number of patterns. While you may have some indication of what the fabric will look like when it is done – there is always some element of surprise.
We used Alliance Rubber Company Tie-Dye Rubber Bands to tie up our fabrics. These bands come in a variety of sizes, making them ideal for creating a variety of effect in the fabric. My students stretched and twisted and turned these rubber bands and not a single one broke!
Day 2 – Dying the Fabric
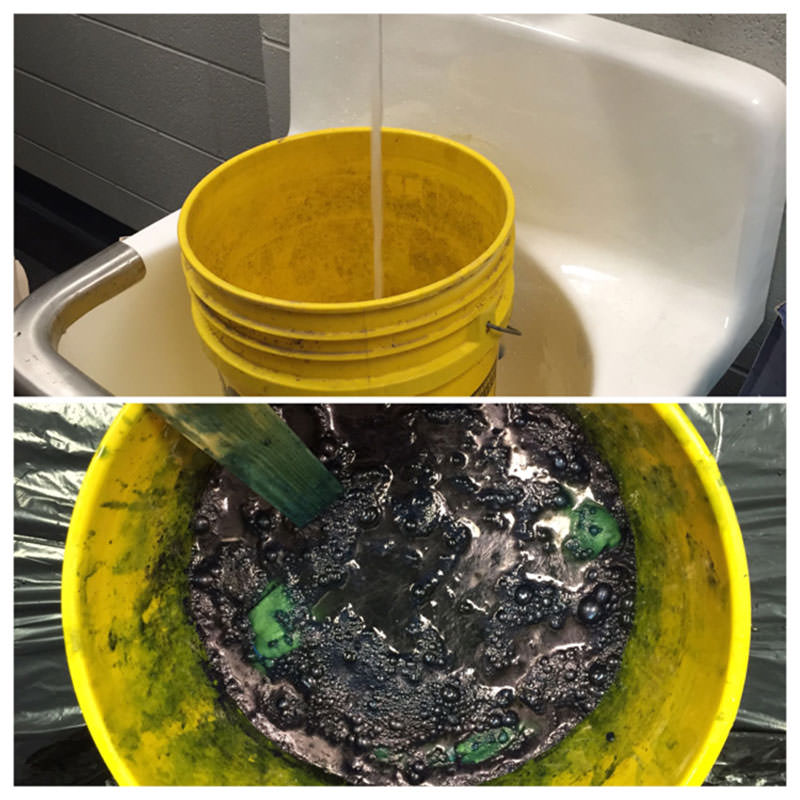
I used a 5-gallon bucket to mix up my dye vat. The dye needs to be mixed at least 30 minutes ahead of time but can last at least a week if kept covered tightly.
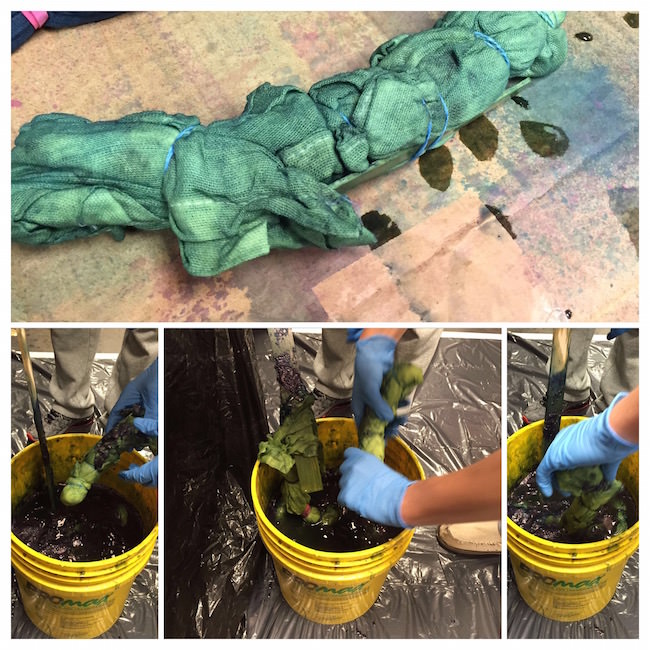
Indigo dye is super cool in that it has to oxidize in the air in order to work. The first step is to submerge the fabric in the dye for at least 60 seconds and up to several minutes. When you finally pull the fabric out of the dye it looks a bright yellowish-green color.
Don’t be alarmed, this is how it is supposed to be. As you let the fabric react to the air surrounding it, the dye will oxidize and begin to turn blue. The color will slightly intensify over the next 20 minutes or so. I had my students repeat this process at least twice to make sure that the final blue color would be very intense.
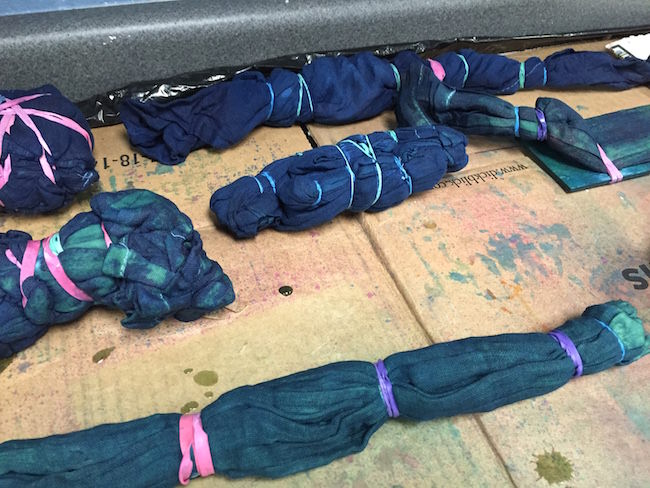
We laid our project onto a layer of cardboard and plastic and let them sit over night. You could rinse your projects after you have let them sit for 20 minutes but our schedule didn’t allow time for that and they were just fine overnight.
Day 3 – Untying and Rinsing the Fabrics
Finally we untied the fabric. We didn’t have much trouble undoing the rubber bands, but you could use scissors to cut them off if need be.
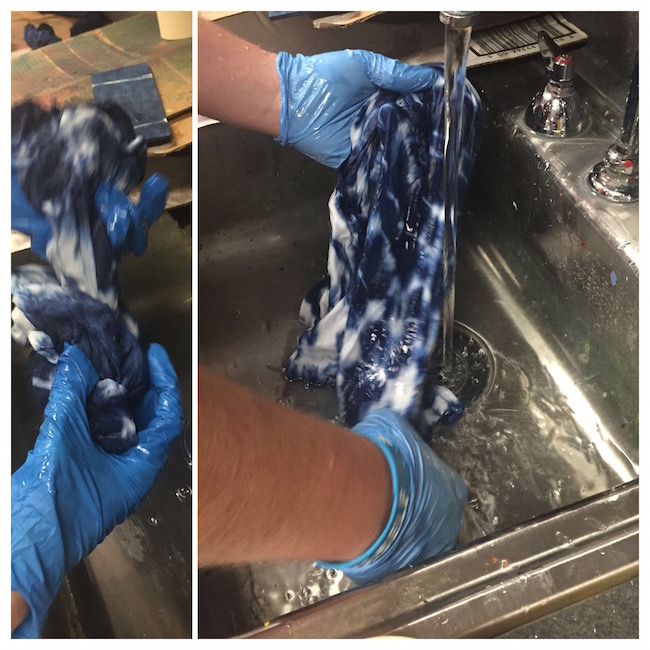
Once all of the rubber bands are removed, it is necessary to rinse the fabric really well to remove any excess dye.
Now it’s finally time to open up your fabric and see the amazing design that was created!
At this point, I would recommend that you wash all of the fabrics to fully set the dye. We have a washing machine and dryer in our building, so I was able to throw them in, and the students were able to come back at the end of the day to pick up their fabrics. Unwashed fabric could potentially leak some dye if it were to get wet.
What can I do with a tea-towel?
I provided each of my students with a tea towel and also gave them the option of bringing in a shirt to dye. My students were excited and ready to do the project, but some wondered what they would do with a tea towel. Here are 10 suggestions for using a tea towel:
- Give it as a gift.
- Use it to wrap a gift.
- Sew it into a pillow.
- Stretch and staple it over a wooden frame and hang it up as art.
- Use it as a napkin.
- Cover your desk with it to make a boring class a little more exciting. (Yes, one of my students came into class the next day and immediately covered his desk with the towel and gave me a big toothy grin. HaHa, kid!)
- Use it to keep your car dashboard dust-free.
- Make a few more and sew them together for a simple blanket.
- Make a headscarf.
- Make a curtain for your bedroom window.
Project Resources
Overall, this was a very successful classroom project. I was pleased with the results, and the students were very excited throughout the whole process. Here are some resources you might want to check out.

